교육용로봇 자유제작키트
페이지 정보
작성자 라퓨타 로봇왕국 작성일 09-10-02 16:14 조회 14,108 댓글 0본문

|
자유제작키트 | |||||||||||||||||||||||||||||||||||||||||||||||||||||||||||||||||||||||||||||||
|
No.40-150(소리센서 미포함) | |||||||||||||||||||||||||||||||||||||||||||||||||||||||||||||||||||||||||||||||
|
No.40-151(소리센서 포함) | |||||||||||||||||||||||||||||||||||||||||||||||||||||||||||||||||||||||||||||||
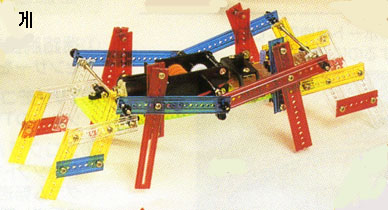
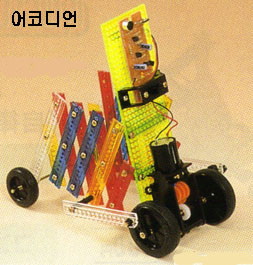
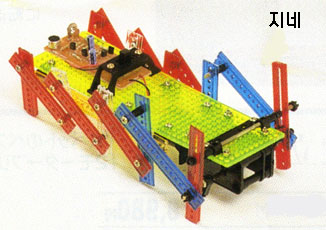
| 위의 7가지 중 한가지를 골라 조립할 수 있습니다.(제작시간 : 9~13시간), 납땜작업이 필요합니다. | |||||||||||||||||||||||||||||||||||||||||||||||||||||||||||||||||||||||||||||||
| 중학생 이상 사용 가능(일본 중학교 교재용임) | |||||||||||||||||||||||||||||||||||||||||||||||||||||||||||||||||||||||||||||||
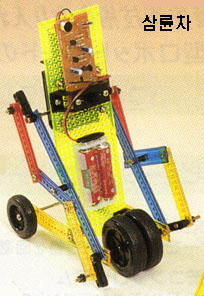
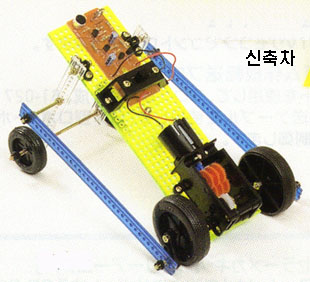
| 초보자는 신축차, 삼륜차 등 조립이 용이한 것으로 만드는 것을 추천합니다. | |||||||||||||||||||||||||||||||||||||||||||||||||||||||||||||||||||||||||||||||
| 제작에 필요한 공구 : 십자드라이버(소), 줄톱, 멍키스패너(소), 니퍼, 인두 | |||||||||||||||||||||||||||||||||||||||||||||||||||||||||||||||||||||||||||||||
| 위의 선택 조립 예제 중 몇가지는 줄톱을 이용하여 샤프트를 80mm 길이로 잘라야 합니다. | |||||||||||||||||||||||||||||||||||||||||||||||||||||||||||||||||||||||||||||||
| 모터축에 직접 연결되는 너트는 풀리지 않도록 잘 조여주시고 다른 관절의 너트는 살짝 조여 주시기 바랍니다. | |||||||||||||||||||||||||||||||||||||||||||||||||||||||||||||||||||||||||||||||
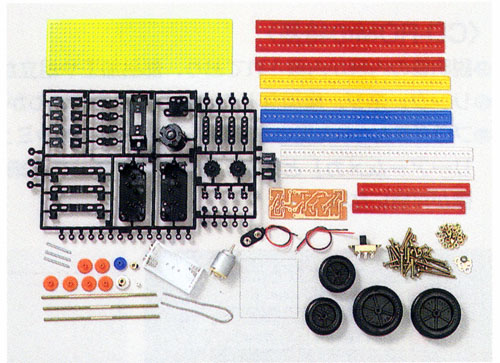
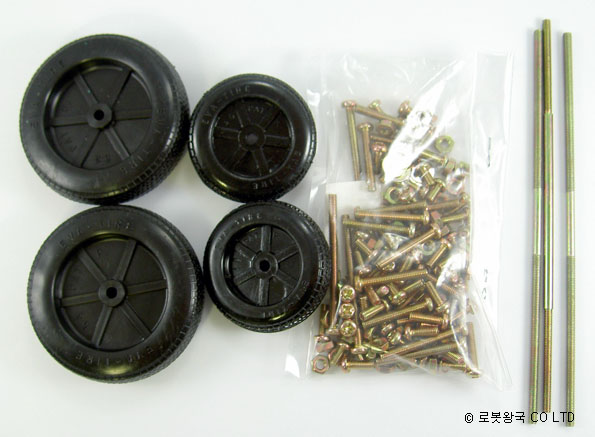
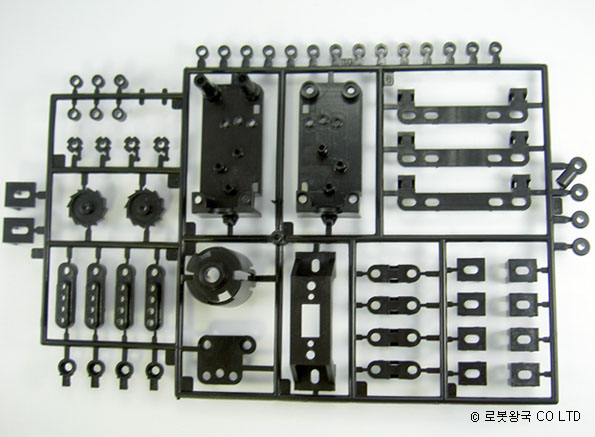
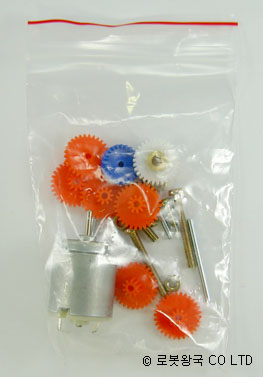
| 세트내용(여러가지를 제작할 수 있는 부품이 들어 있습니다.) | |||||||||||||||||||||||||||||||||||||||||||||||||||||||||||||||||||||||||||||||
|
| ||||||||||||||||||||||||||||||||||||||||||||||||||||||||||||||||||||||||||||||
| 소리센서를 추가하면 소리에 반응하여 움직이게 할 수 있습니다. | |||||||||||||||||||||||||||||||||||||||||||||||||||||||||||||||||||||||||||||||
| 소리센서를 추가하지 않아도 스위치로 동작을 할 수 있습니다. | |||||||||||||||||||||||||||||||||||||||||||||||||||||||||||||||||||||||||||||||
옵션파트(소리센서 선택 시)
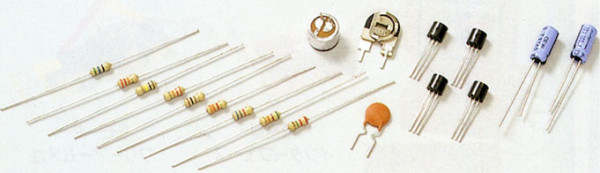
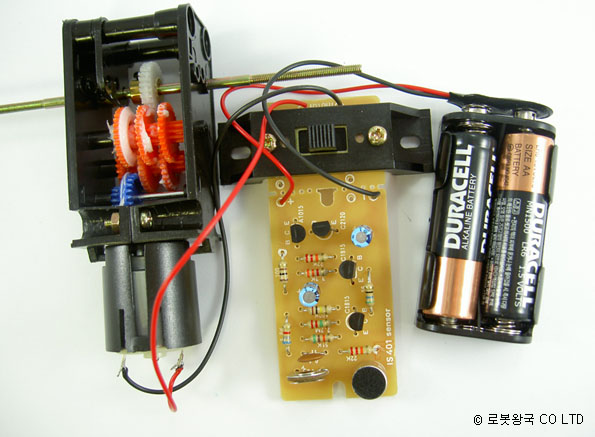
부품 상세사진
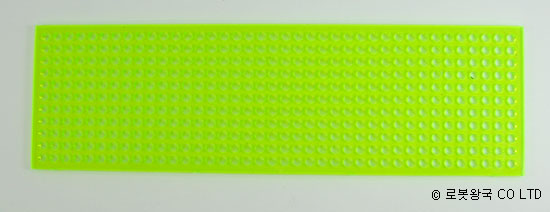
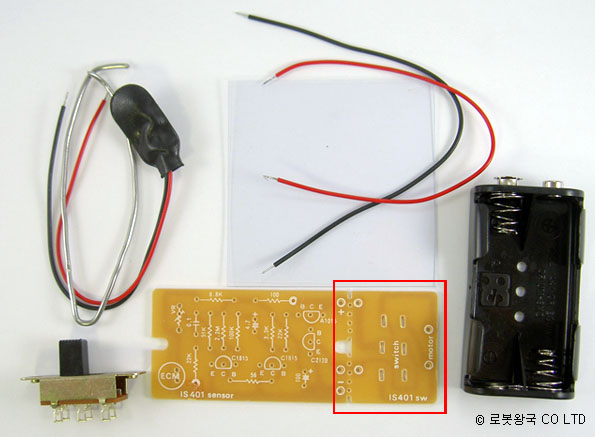
소리센서를 조립하지 않을 때는 기판의 빨간박스 부위만 이용하여 조립하면 됩니다.
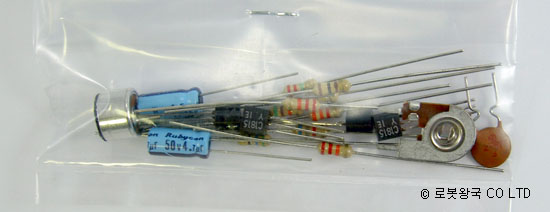
납땜용 부품
소리센서 선택 시만 포함되며 기본 작동에는 없어도 상관없습니다.
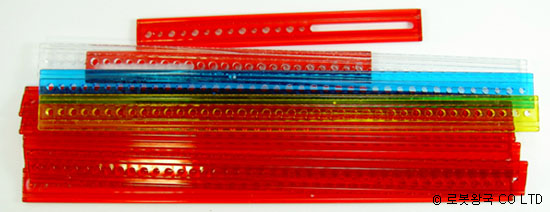
설명서의 그림을 보고 실톱을 이용하여 길이에 맞게 잘라줍니다.
조립 순서
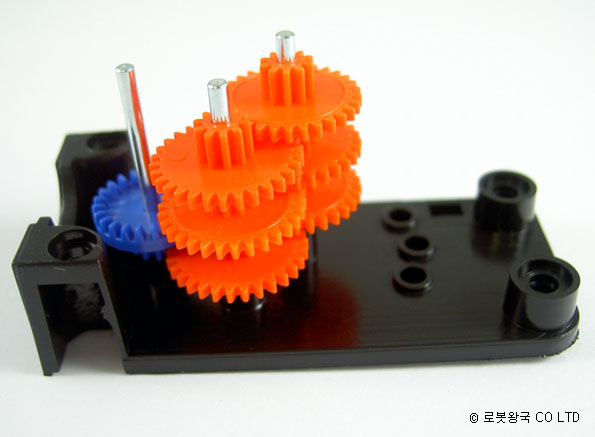
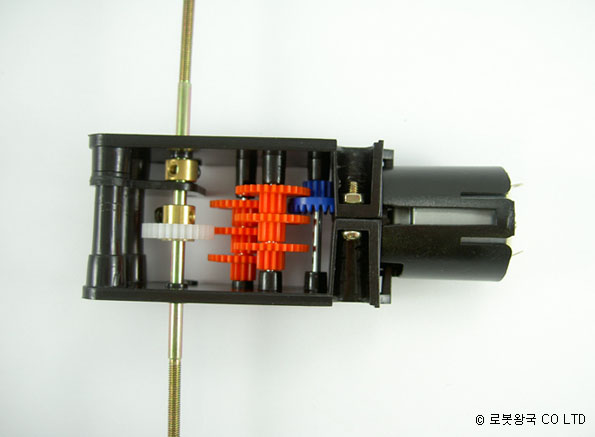
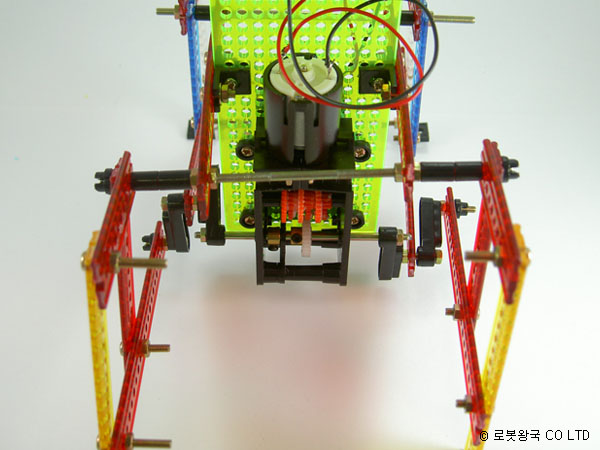
기어조립

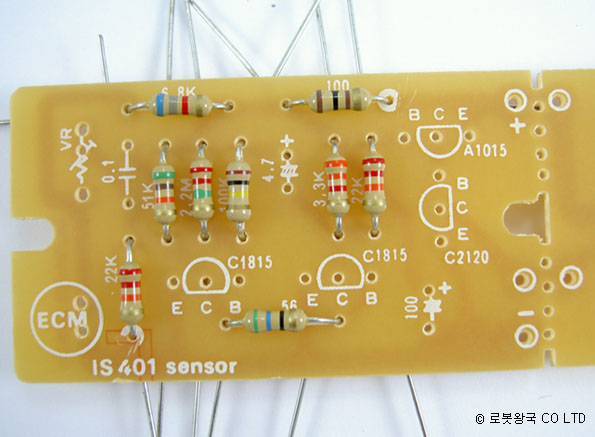
기판에 저항 연결 후 납땜.(소리센서 선택 제품만)
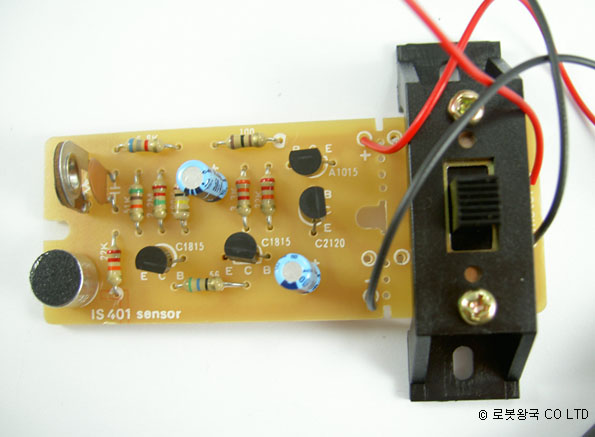
스위치 연결
전선 연결 후 테스트 가동
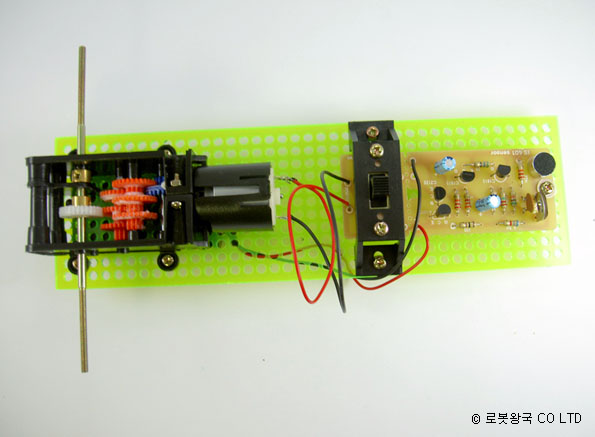
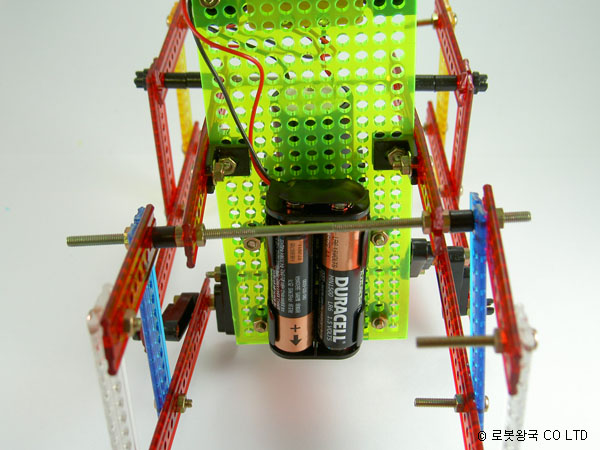
베이스에 조립
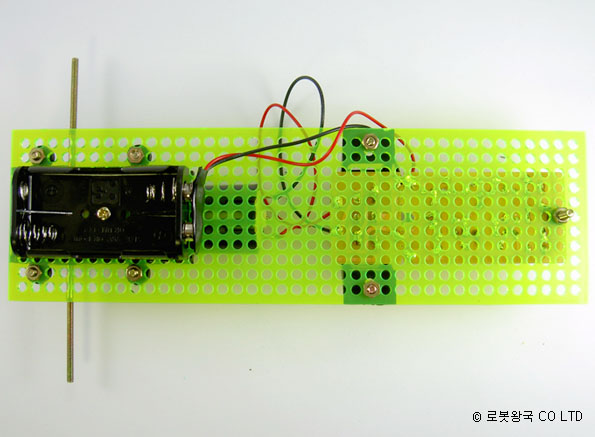
뒷면에 배터리 케이스 부착
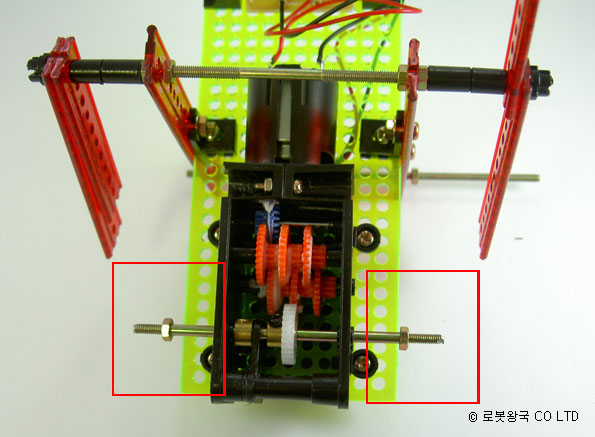
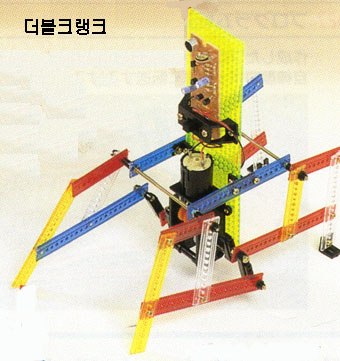
사진처럼 더블크랭크를 만들기 위해서는 모터축을 80mm 길이로 잘라야합니다. 줄톱을 이용합니다.

동영상보기 자유제작키트 작동 보기
[이 게시물은 로보맨님에 의해 2013-09-14 23:57:23 묻고답하기에서 이동 됨]첨부파일
- freekit.alz (943.9K) 1회 다운로드 | DATE : 2009-10-02 16:27:40
댓글목록 0
등록된 댓글이 없습니다.